用quasar+vue3+组合式api VueRouter实现路由嵌套(二级路由)
提示
本项目使用的是 quasar 创建,vue3 的组合式 api 语法。部分语法不同,但不影响理解,修改语法后可以在 vue2/选项式 api 项目中运行。
效果展示
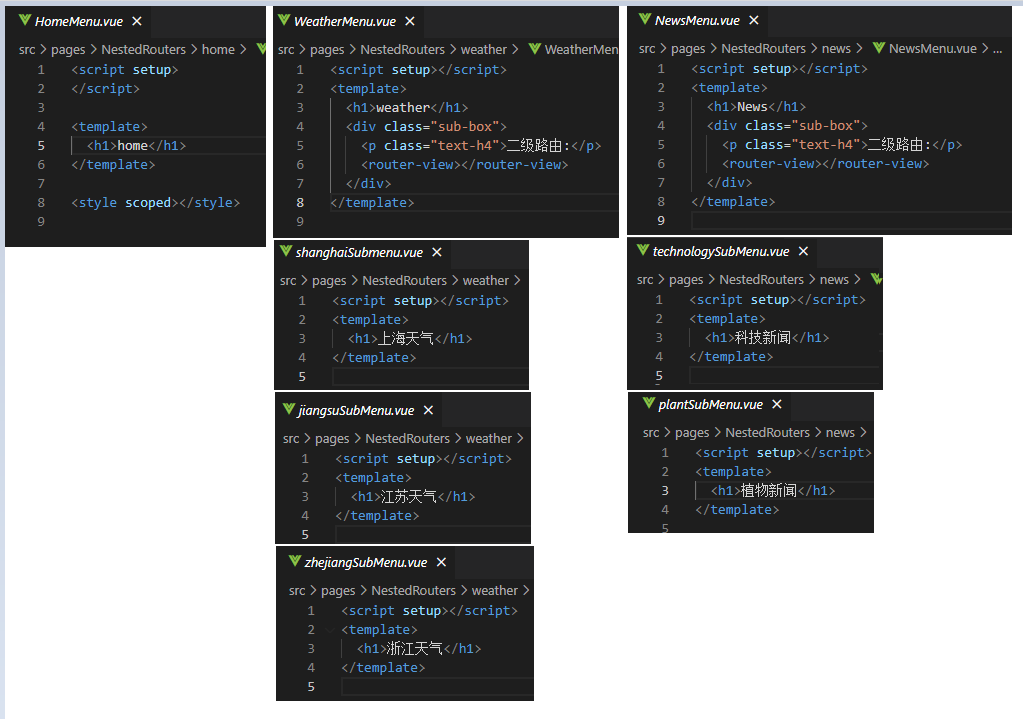
文件目录结构和代码
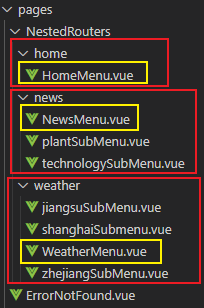
文中用到的标题栏数据如下:
const titles = ref([
  { name: "首页", path: "home", children: [] },
  {
    name: "天气",
    path: "weather",
    children: [
      { name: "上海", path: "shanghai" },
      { name: "江苏", path: "jiangsu" },
      { name: "浙江", path: "zhejiang" },
    ],
  },
  {
    name: "新闻",
    path: "news",
    children: [
      { name: "科技", path: "technology" },
      { name: "植物", path: "plant" },
    ],
  },
]);
路由表如下:
注意 children 里的 path 都没有 /
const routes = [
  {
    path: "/",
    redirect: "/home",
  },
  {
    path: "/",
    component: () => import("layouts/MainLayout.vue"),
    children: [
      { path: "css", component: () => import("pages/xiaomiTitltBarCss.vue") },
      {
        path: "cssjs",
        component: () => import("pages/xiaomiTitltBarCssJs.vue"),
      },
      // /////////////////////// 测试嵌套路由 👇 //////////////////////////////////
      {
        path: "home",
        component: () => import("src/pages/NestedRouters/home/HomeMenu.vue"),
      },
      {
        path: "weather",
        component: () =>
          import("src/pages/NestedRouters/weather/WeatherMenu.vue"),
        children: [
          {
            path: "shanghai",
            component: () =>
              import("src/pages/NestedRouters/weather/shanghaiSubmenu.vue"),
          },
          {
            path: "jiangsu",
            component: () =>
              import("src/pages/NestedRouters/weather/jiangsuSubMenu.vue"),
          },
          {
            path: "zhejiang",
            component: () =>
              import("src/pages/NestedRouters/weather/zhejiangSubMenu.vue"),
          },
        ],
      },
      {
        path: "news",
        component: () => import("src/pages/NestedRouters/news/NewsMenu.vue"),
        children: [
          {
            path: "technology",
            component: () =>
              import("src/pages/NestedRouters/news/technologySubMenu.vue"),
          },
          {
            path: "plant",
            component: () =>
              import("src/pages/NestedRouters/news/plantSubMenu.vue"),
          },
        ],
      },
    ],
  },

  // Always leave this as last one,
  // but you can also remove it
  {
    path: "/:catchAll(.*)*",
    component: () => import("pages/ErrorNotFound.vue"),
  },
];

export default routes;
一层路由
使用 router-link
router-link通过传递to来指定链接:<router-link to="/">Go to Home</router-link>router-view将显示与url对应的组件。你可以把它放在任何地方,以适应你的布局。router-link必须和router-view配对使用。
<router-link
  class="q-mx-lg text-h3"
  v-for="menu in titles"
  :key="menu"
  :to="menu.path"
>{{ menu.name }}</router-link>

<router-view></router-view>
运行结果
使用编程式导航
<span
  class="q-mx-lg text-h3"
  v-for="menu in titles"
  :key="menu"
  @click="topMenu(menu)"
>{{ menu.name }}</span>

<router-view></router-view>

function topMenu(menu) { router.push(menu.path); }
运行结果
一层路由总结
- 使用
router-link,:to="menu.path",注意不加/ - 使用编程式导航
router.push(meun.path)也不加/
嵌套路由的使用
使用 router-link
router-link必须和router-view配对使用。sub-menu的router-view在HomeMenu.vue、WeatherMenu.vue、NewsMenu.vue中(如果有的话)。- 一级
router-link:to="'/' + menu.path" - 二级
router-link:to="'/' + menu.path + '/' + submenu.path"
<div class="row justify-center">
  <router-link
    class="q-mx-lg"
    v-for="menu in titles"
    :key="menu"
    :to="'/' + menu.path"
  >
    <span class="text-h3">{{ menu.name }}</span>
    <div class="column text-center text-h6">
      <router-link
        v-for="submenu in menu.children"
        :key="submenu"
        :to="'/' + menu.path + '/' + submenu.path"
      >
        {{ submenu.name }}
      </router-link>
    </div>
  </router-link>
</div>

<hr />
<div class="q-ma-lg">
  <div class="box">
    <p class="text-h4">一级路由:</p>
    <router-view></router-view>
  </div>
</div><style>
.box {
border: 5px solid green;
padding: 20px;
color: green;
}
.sub-box {
color: lightcoral;
margin: 50px;
background-color: antiquewhite;
}
h1,
h2 {
text-align: center;
}
</style>WeatherMenu.vue(注意有 router-view)
<script setup></script>
<template>
  <h1>weather</h1>
  <div class="sub-box">
    <p class="text-h4">二级路由:</p>
    <router-view></router-view>
  </div>
</template>
运行结果
使用编程式导航
<div class="row justify-center">
  <div class="q-mx-lg" v-for="menu in titles" :key="menu">
    <span class="text-h3" @click="jumpTopMenu(menu)">{{ menu.name }}</span>
    <div class="column text-center text-h6">
      <div v-for="submenu in menu.children" :key="submenu">
        <span @click="jumpSubMenu(menu, submenu)">{{ submenu.name }}</span>
      </div>
    </div>
  </div>
</div>

<hr />
<div class="q-ma-lg">
  <div class="box">
    <p class="text-h4">一级路由:</p>
    <router-view></router-view>
  </div>
</div>
function jumpTopMenu(menu) {
router.push("/" + menu.path);
}
function jumpSubMenu(menu, submenu) {
router.push("/" + menu.path + "/" + submenu.path);
}运行效果
路由嵌套总结
当有两层或者更多路由,即路由嵌套时:
- 第一层路由
router-link:to="'/' + menu.path"必须加/ - 第二层路由
router-link:to="'/' + menu.path + '/' + submenu.path"也必须加/ - 如果不加
/,多次点击时会重复追加路由 - 编程式导航
router.push('/' + menu.path)也必须加/
路由总结
- 路由表中
children中的path都不加/ router.push(path)的路径参数总是和router-link中:to="path"相同- 只有一层路由时,
router.push(path)和router-link中:to="path"不用加/ - 路由嵌套时,
router.push(path)和router-link中:to="path"都必须加/